I'm bringing you one recycle craft idea each day until Earth Day, April 22nd.
Today's Idea: Hooked Rag Rugs
Hooked rag rugs are a great way to recycle clothing and other textiles that may be ripped or stained. This traditional craft hales from an era where little was ever wasted or thrown away. Things were patched, repaired or repurposed. Clothing and other textiles were patched until they could be patched no more, then were cut up to make quilts, rags or rag rugs. Early American rag rugs were often true works of folk art, made by women who had no training as artists. They were making something simple and utilitarian, but the medium invited personal expression.
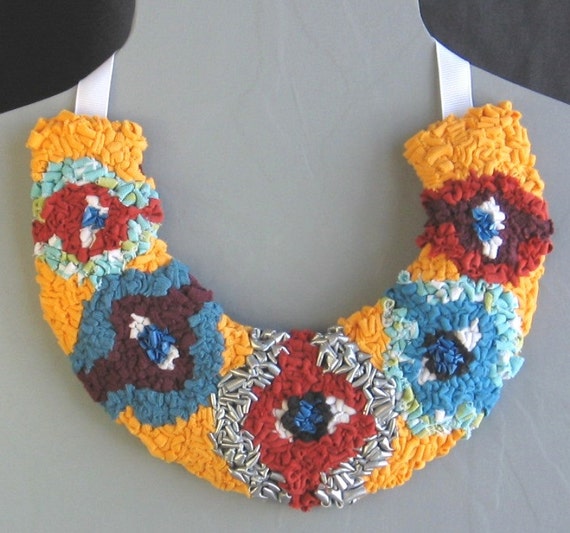 |
| My original design |
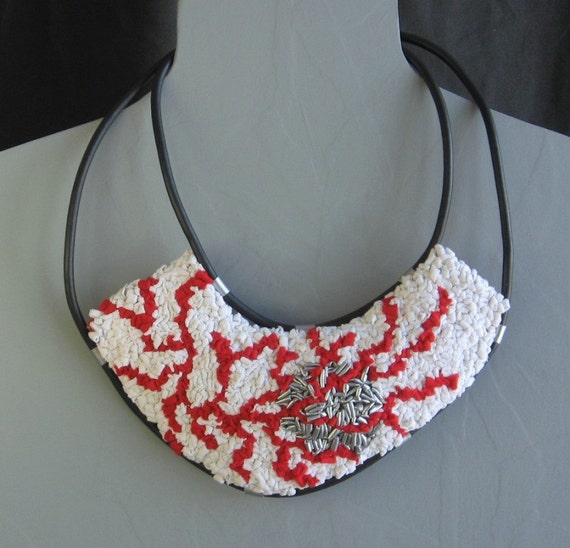 |
My original design
What you will need to begin any project:
1) A latch hook tool. This can be found at any craft store.
2) A piece of base fabric. Traditionally this is burlap, a repurposed seed bag or coffee bag. Burlap is inexpensive at a fabric store, but you can also use any sturdy loose-weave fabric such as linen.
3) The fabrics you will use to hook your design. These can be almost any salvaged textile that won't unravel as you work. Traditionally, woven wool fabric was used. I like to use t-shirts and other knits, cottons and cotton blends. You can also incorporate other materials such as strings, yarns and plastic bags. Different materials will give different textures. I like to mix them up. In the orange bib necklace pictured above, I have used t-shirts, rayon, a blue plastic bag, a printed heavy cotton pillow cover, chenille yarn and shiny silver pleather. Cut your fabric into long 1/4" strips. You don't need to measure or be too precise. Just eyeball it.
4) A Sharpie marker for drawing your design on your base fabric.
5) White glue. Elmer's type. I use very inexpensive generic brands. Glue is not critical, but I find it helpful to run a bead of white glue around the cut seam of the base fabric before you begin hooking. Allow it to dry. Then your base fabric will not fray or unravel as you are working.
To begin:

1) Sketch out your design and decide the colors you will use.
 2) Draw your design on your base fabric using a Sharpie marker. Cut out your design leaving at least a one inch border all around. Put a thin bead of white glue around your cut edges and spread evenly with your finger. Allow to dry completely. 
3) With a small piece, it is sometimes helpful to use an embroidery hoop to hold your work. This is optional.
Begin hooking. Hold your strip of fabric on the back side of your burlap, insert your latch hook tool into the face of the design and draw loops of thread through to the front. Keep your loops tight together but not so tightly packed that the base fabric becomes bowed and stretched. Pull the ends of each strip of fabric through to the face and trim flush. If you leave your ends on the back side and they get snagged or pulled they can potentially unravel large sections of hooking.

4) When you've finished hooking your design, you will want to finish it by turning the edges under. A mist of water and a hot iron on the BACK of the piece will press it flat. Neatly stitch a backing fabric to your piece. If you've created an actual rug to be used on the floor, you can buy a liquid latex product from the craft store to paint on the back to keep it from unravelling and make it non-slip.

Come back tomorrow to see another recycle craft idea!
|
No comments:
Post a Comment