Ann is a Phoenix area artist and designer who founded the program, Street Gems, a jewelry-making program that aids homeless people.
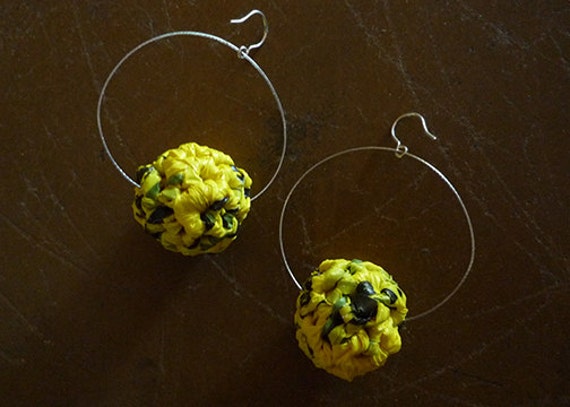 |
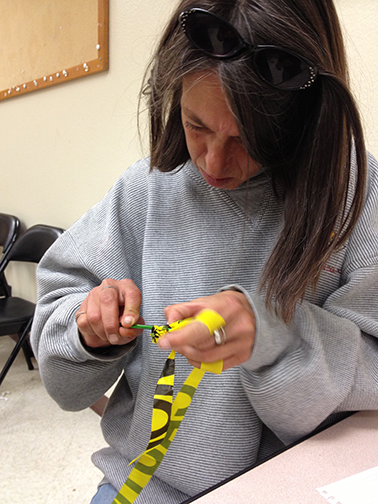
| Caution Tape Crocheted Bead Earrings |
A while back, I contacted Ann through the StreetGems shop on Etsy to learn more about this innovative and inspirational program she spearheaded.
Where did the inspiration for starting Street Gems come from?
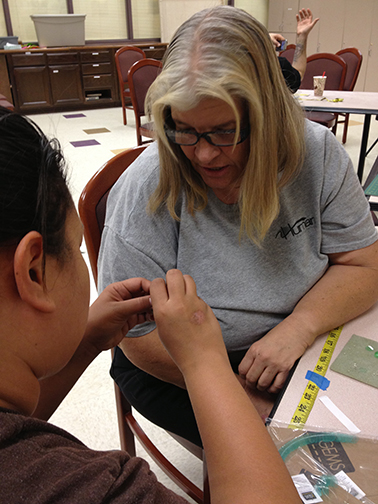
I had just completed my MFA thesis at Arizona State University and part of my thesis work involved paying homeless makers to crochet parts of a huge project that then one homeless fellow put together to appear in my thesis show. Before that project, I'd been working with the homeless population here in Phoenix for about 1 1/2 years. So as a result, I wanted to see if I could start a small enterprise by designing the items and then training homeless participants to make and sell.
 |
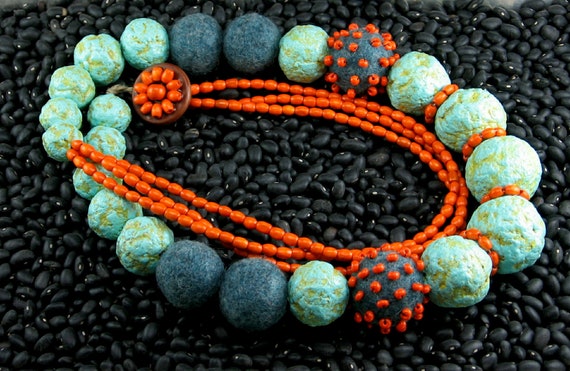
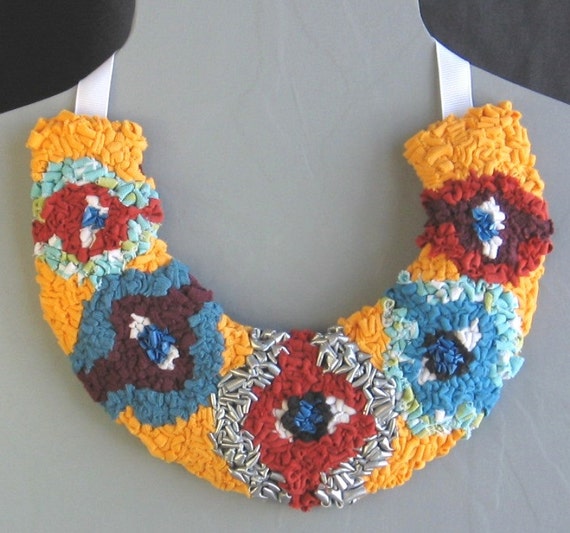
| Plastic Bottle Bead and Seed Bead Necklace |
Yes, we work out of the Loadstar Day Resource Center (LDRC for short) which operates on the Human Services Campus in downtown Phoenix. This effort is a partnership with LodestarDRC and they provided start up funds for initial supplies, packaging etc. We sell everything through them as they are a 501c3, and then the funds are distributed to our small group of permanent makers. We often have drop-ins that will work for a day, but it is only after a maker makes a commitment to come on a regular basis that they reap the benefits of the sales. I have one regular volunteer and sometimes there is one staff member from the LDRC that attends our sessions. We meet once a week for 3 hours.
How has the program been received in your community?
We started training in June of 2012 to be ready for the holiday season. We are currently in five design oriented retail locations here in the Phoenix metro area (Scottsdale and Chandler). We also sell at a regular event called First Fridays in downtown Phoenix. The items are also online at Lodestar's Just B B Just. This is another enterprise at Lodestar that makes soaps, lotions, etc.
The products are not exactly flying off the shelf, but just this past weekend, we got a big article in the newspaper here and a spot on an associated TV news station. We hope that will spur interest.
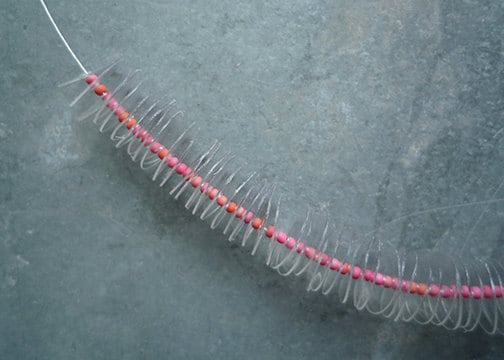 |
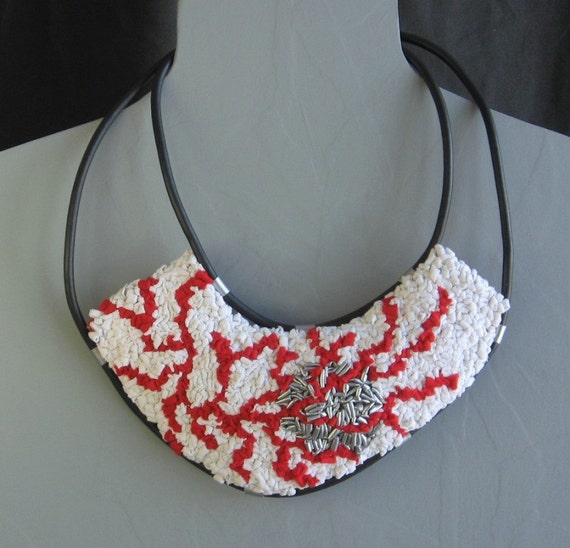
| Plastic Bottle Bead and Seed Bead Necklace |
What are the results you have seen from this program in terms of what it has done to assist the homeless people you work with?
I think that more than the monetary value, this has given our makers a sense of accomplishment - especially those that have come repeated times. This is a very transient group, so we've had regulars come and go.
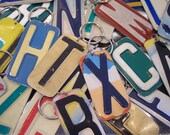
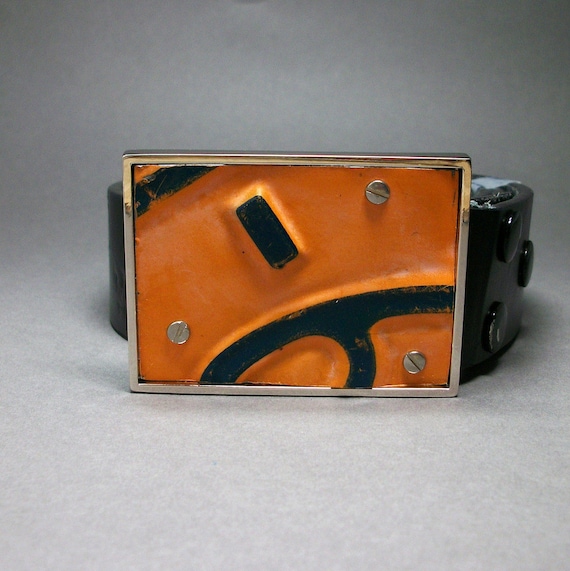
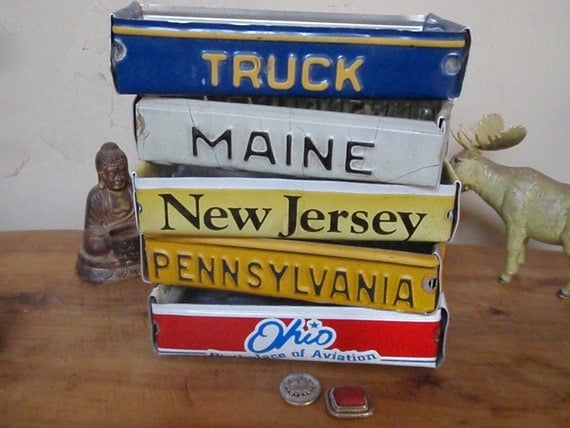
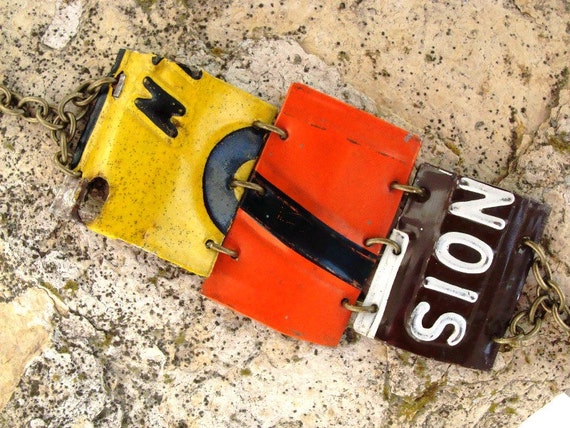
" It is no coincidence that we have named this enterprise Street Gems. For, not only do these products uncover the beauty of commonly discarded objects, but, this holistic program uncovers the abilities and the talents of the homeless artisans who make them."
Click on the links throughout this interview to learn more about Ann's program and visit the shop on Etsy or the Just B B Just site to purchase the unique hand-crafted jewelry items.