Sunday, March 17, 2013

Taking My Virtual Shop into the Real World

I've taken a break from the count-down to Earth Day to try to move my jewelry business forward.

Today I met with Janis, one of the curators (for lack of a better word) of the shop, The Funky Caravan in Colorado Springs.  We hit it off immediately.  She loved my stuff!  I brought 45 pieces with me, almost my entire inventory.  The only things I didn't bring were early items I wanted to rework and some wool items more appropriate for Fall and Winter.  She took it all!  It's on consignment, but she is very confident it will move quickly.

The shop sits on Colorado Avenue in Old Colorado City, a national historic district now home to shops and restaurants.  There is abundant foot traffic and because of its proximity to the famous Broadmoor Hotel, it attracts wealthy tourists during warm weather.

This opportunity is fairy tale perfect!  Janis believes they will be able to sell my stuff as fast as I can make it.  So now I have to decide whether it will be worth my while to keep my virtual shop open.  I love the community on Etsy.  It's been a great learning experience, but the computer part of running my shop is so time consuming!  I have lots to think about this week.


Friday, March 15, 2013

Count Down to Earth Day: 38 Days

I'm offering one recycle craft idea each day until Earth Day, April 22nd.

Today's Idea:  Silverware Jewelry

Does anyone use fine silverware any more?  Maybe those Martha Stewarts of the world.  Come on, you have to wrap it and store it and then break it out once or twice a year and polish it before you can use it!  When my family gets together it's usually plastic silverware (not very eco-friendly, but it's not my house and I don't plan on washing the dishes).   Whether you have a set you're tired of polishing or you find those lovely silverware orphans at tag sales or thrift stores, I have brilliant news for you.  You can turn it into remarkable jewelry!

 Vintage Silver Spoon Bracelet, Pattern name: Hampton Court, circa 1926, Repurposed, Upcycled,  Silverplate Spoon and Fork Jewelry
Vintage Silver Spoon Bracelet by Debbie Holborow
https://www.etsy.com/shop/2ndLifeJewels

You can use just the handles and make lovely bracelets or earrings.

Vintage Swedish Demitasse Spoon Earrings, by Carlen,Repurposed, Upcycled,  Silverplate Spoon and Fork Jewelry
Vintage Swedish Demitasse Spoon Earrings by Debbie Holborow
https://www.etsy.com/shop/2ndLifeJewels

Or you can use fork heads and bend the tines into curlicues.

Fork Necklace from Antique Silverplate Upcycled Silverware Jewelry (00030-LV)
Fork Necklace from Antique Silverplate Upcycled Silverware by Jennifer Edmondson
https://www.etsy.com/shop/laughingfrogstudio

You can use just the head of a spoon, hammer it flat and stamp it with your favorite quote.


Upcycled belt leather cuff-Silverware Jewelry  by Scarlett
https://www.etsy.com/shop/SalvagedCreations

The handles also make nifty rings.

Antique Spoon Ring  - Sweet Briar 1948 - Silverware Jewelry
Antique Spoon Ring by Tom and Jessica Dickson https://www.etsy.com/shop/CaliforniaSpoonRings

And so much more creativity!

 Silver Fork Bracelet in Original Weaving Hearts Design
 Silver Fork Bracelet in Original Weaving Hearts Design by John Marchello https://www.etsy.com/shop/MarchelloArt


 Angel Brenn Believes In Love - Art Jewelry Pendant - Upcycled Sterling Silverware, And PMC by Robin Wade
  

 Quotes on Fork Tines Silverware Necklace-MADE TO ORDER
 Quotes on Fork Tines Silverware Necklace-MADE TO ORDER by SpoonerZ https://www.etsy.com/shop/SpoonerZ

Stop by tomorrow for another recycle craft idea.


Thursday, March 14, 2013

Count Down to Earth Day: 39 Days

I'm bringing you one recycle craft idea each day until April 22nd.

Today's Idea: Paper Mache Beads


Felt and paper mache statement necklace, recycled, upcycled, mixed media
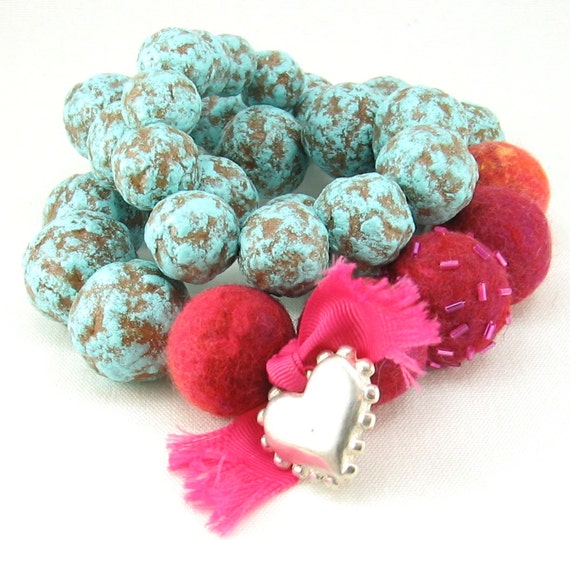
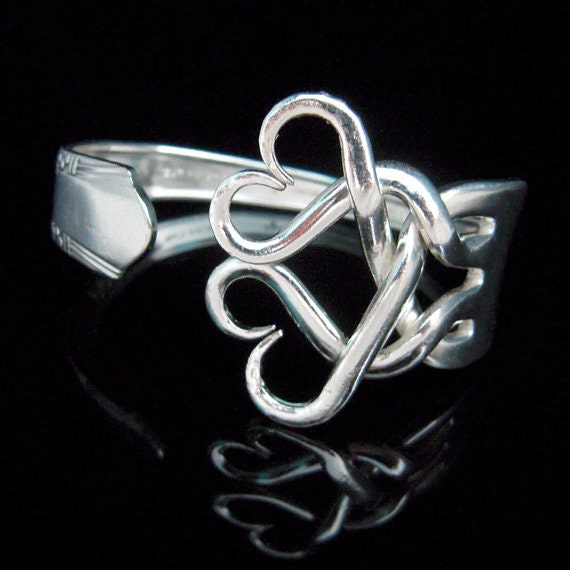
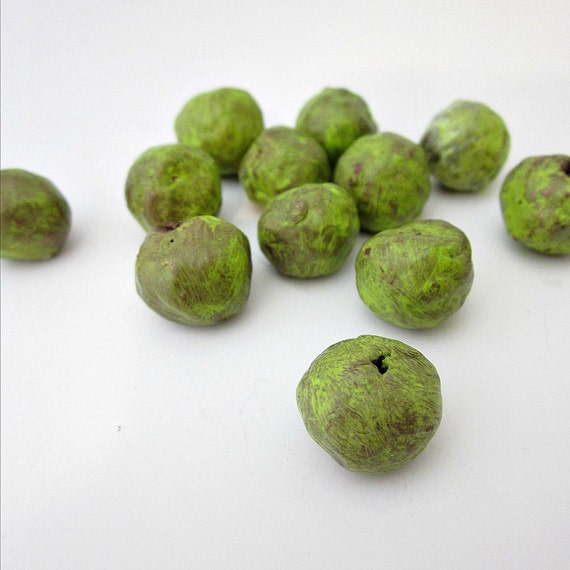
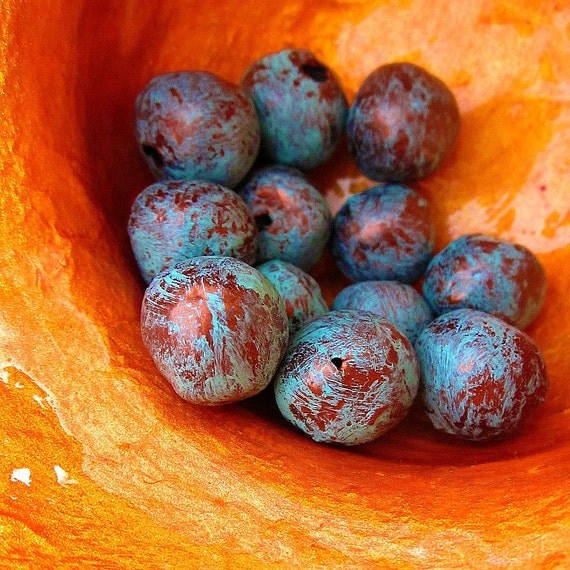
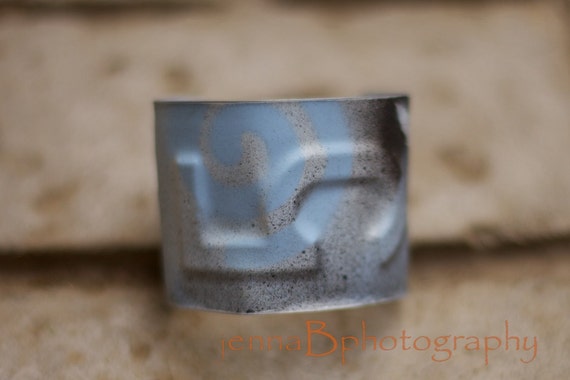
 Paper mache "turquoise" nuggets, my design

I love working with paper mache.  I used to work with polymer clay.  One of my problems with polymer clay was that the chemicals in the clay are toxic.  You need a dedicated oven just for your clay unless you want to poison your family.  Paper mache can't replace polymer clay.  I'm not suggesting it has any of the same qualities, but there is something wholesome about it.  It's just recycled paper and flour paste.  Of course there are more elaborate recipes you can follow, but they don't really improve the finished product when you're making beads.
 
Mountain Driftwood Faux Turquoise Necklace, mixed-media, upcycled, recycled, salvaged, FREE shipping to the US.
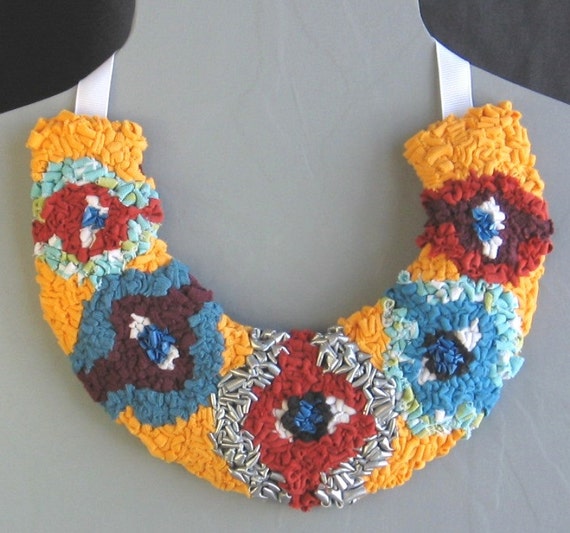
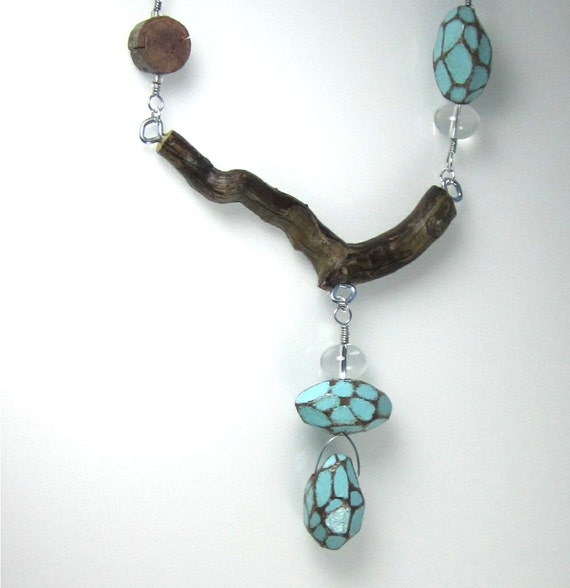
Paper mache beads, drift wood and chandelier crystal, my design
 
An easy way to make paper mache beads is to start with shredded office paper.  This paper needs to be broken down into pulp.  You could leave it to cook down on the stove for several hours, but that's not very eco-friendly.  Instead, when you're getting ready to wash a load of clothes in hot water (also not very eco-friendy.  I only do this when something is extremely soiled), throw in a batch of shredded paper.  Here's how you do that without ruining your machine or your clothes:
 
Take an old pillow case.  Stuff it with shredded office paper.  You don't want to completely fill it unless you're planning to make a ton of beads.  Gather the top of the pillow case and  wrap it several times with some sturdy string or twine and tie in a tight knot.  You do not want this to come open in the wash!  Run it through a normal cycle.   


Mountain Driftwood Statement Necklace, paper mache, recycled, upcycled, natural, mixed media

Faceted paper mache beads and drift wood, my design
 
When you pull your pillow case from the washer, throw it right into the dryer.  Double check that your string is still tightly tied.  After it's been washed and dried, your pulp is ready for use, or you can save it to use at a later date.
 
Felt and paper mache statement necklace, recycled, upcycled, mixed media
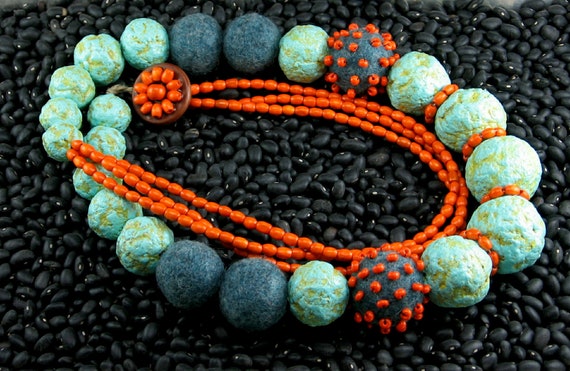
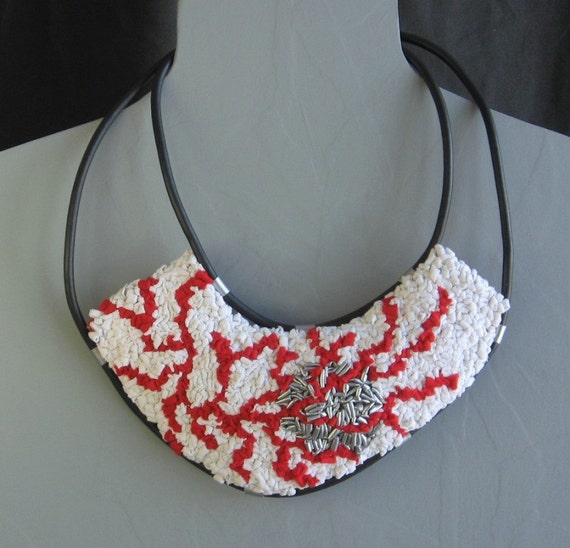
Paper mache, felt and wood beads.  My original design.
 
To make beads, empty your paper pulp into a large bowl.  Mix up some flour paste.  This is not an exact science.  Here's what I do.  Take a microwave safe bowl and fill with about a cup of tap water.  Heat on high until it just reaches boiling.  Handle with care, bowl will be hot!  Take some flour (white flour works best for a smooth paste) and sprinkle about a tablespoon into your bowl of boiling water while stirring briskly with a fork.  This will start to thicken.   Add small amounts of flour at a time until you get the consistency of pancake batter.  If you make it too thick, thin with a small amount of water.
 
Allow your paste to cool slightly.  Put on a pair of rubber dish washing gloves (or not) and add about half your paste to your paper pulp.  Get your hands in there and start working it around and squishing it up like you're making meatloaf, (or for my fellow vegetarians, lentil loaf.)  This part is not an exact science either.  Work in enough paste that it holds together when you squeeze it into a ball.  Make it too wet and it's hard to work with and will never dry; not wet enough and your beads won't hold together. 
 
Handmade Old Gold and Green Rustic Paper Mache Beads, 10 pcs: Wasabi
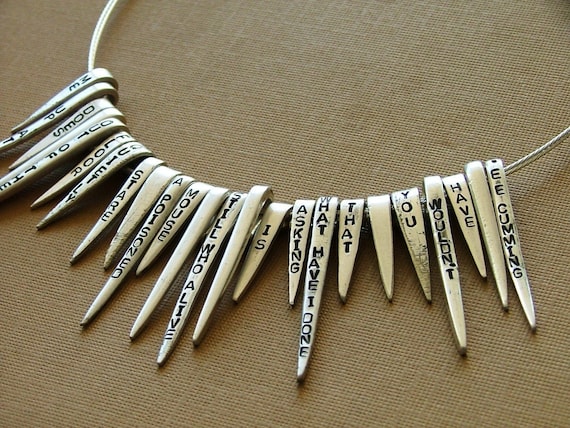
Handmade Old Gold and Green Rustic Paper Mache Beads by Renee
 
Now shape your beads.  You can't roll this type of paper clay between your palms the way your can polymer clay or ceramic clay.  You have to kind of pack it together like making a snowball.  When you get all your beads shaped, carefully poke a hole in each with a toothpick or wooden skewer.  Put your beads on a cookie sheet or tray and space them so they aren't touching.  Find a warm place to leave them to dry for several days.  A sunny window or near a heat vent would be ideal to speed up drying time.  Turn your beads once a day for ever drying.
 
Once your beads are completely dry, it's time to paint them!  You can seal them with a water based polyurethane for protection.  When that's dry, they're ready to be turned into marvelous jewelry!
 
Handmade Copper and Aqua Paper Mache Beads, 10 pcs
Handmade Copper and Aqua Paper Mache Beads by Renee
 
I hope you've found this tutorial useful.  Stop by tomorrow for another recycle craft idea.


Wednesday, March 13, 2013

Count Down to Earth Day: 40 Days

I'm bringing you one recycle craft idea each day until Earth Day, April 22nd.

Today's Idea:  Popsicle Stick Tramp Art

You may have thought that popsicle stick art was reserved only for kindergartners, but take a look at the fun and sophisticated creations below.  With warm weather in the forcast, popsicles might be on your shopping list.  Think twice before throwing those sticks in the trash.

Vintage 1960s Folk Art Popsicle Stick Wood Basket Purse
Vintage Basket Purse
https://www.etsy.com/shop/snapitupvintage


Vintage Tramp/Prison Art Popsicle Stick Lamp
 Vintage popsicle stick lamp
https://www.etsy.com/shop/StarLightMemories

Vintage Popsicle Stick Sewing Basket - Cottage Life
Vintage Popsicle Stick Sewing Basket
https://www.etsy.com/shop/wilshepherd


Popsicle Stick Folk Art Lamp


popsicle stick side table.jpg
Popsicle stick table, lamps, sconce amd mirror frame by artist,  David Hrobowski

tree top half.jpg
Popsicle stick Christmas tree by David Hrobowski

Tune in tomorrow for another recycle craft idea.


Tuesday, March 12, 2013

Count Down to Earth Day: 41 Days

I'm offering one recycle craft idea each day until Earth Day.


Today's Idea:  Repurposed License Plates

Today's idea is not a single project, but a survey of objects made from old license plates to inspire you.  Anyone who's ever moved to a different state probably has an old license plate or two hanging around.  (I know I have several stashed in my garage that my husband and I have saved over the years.  I've just been looking for the right project.)  So I turned to Etsy for ideas.

PICK Your Initial KEY CHAIN - Recycled - Repurposed - Upcycled Initial License Plate Keychain Key Ring Key Fob Gift for Her Gift For Him
Initial Keychains by Brooke and Todd Theriot
 https://www.etsy.com/shop/KoolPlatez
 
 
Recycled Belt Buckle License Plate New York Handmade Vintage for Him or Her
License Plate Belt Buckle by halfmoonroad
https://www.etsy.com/shop/halfmoonroad 


Maine License Plate Tray - Rustic Treasure Tray - Storage Box
License Plate Trays by lahaine
https://www.etsy.com/shop/lahaine


 Repurposed Vintage License Plates: Uber Punk Driving Cuff - Cuff Bracelet - ReaganJuel
Reagan Juel (see her interview on my blog from Feb.)
https://www.etsy.com/shop/ReaganJuel


Flying Donut Round License Plate Recycled Birdhouse by StressTheSeams
License Plate Birdhouse by StressTheSeams
 https://www.etsy.com/shop/StressTheSeams

 XOXO Wedding Sign, Barn Wood
XOXO Wedding Sign by BarnDoorEvents
https://www.etsy.com/shop/BarnDoorEvents


Glacier Cuff Bracelet - 5
Glacier Cuff Bracelet 5 by Jenna B
 https://www.etsy.com/shop/jennaBstudios


Peace sign in blue - License plate art
Peace Sign by ruraloriginals
https://www.etsy.com/shop/ruraloriginals

5 Point Recycled License Plate Star Decoration
5 Point Recycled License Plate Star Decoration by StressTheSeams
https://www.etsy.com/shop/StressTheSeams

Come back tomorrow for another recycle craft idea.


Monday, March 11, 2013

Count Down to Earth Day: 42 Days


I'm bringing you one recycle craft idea each day until Earth Day, April 22nd.

Today's Idea: Hooked Rag Rugs

Hooked rag rugs are a great way to recycle clothing and other textiles that may be ripped or stained.  This traditional craft hales from an era where little was ever wasted or thrown away.  Things were patched, repaired or repurposed.  Clothing and other textiles were patched until they could be patched no more, then were cut up to make quilts, rags or rag rugs.  Early American rag rugs were often true works of folk art, made by women who had no training as artists.  They were making something simple and utilitarian, but the medium invited personal expression.
    

There is nothing difficult about rug hooking, the only skill required is an abundance of patience.  Large rugs can take hundreds of hours to complete.  I love the tactile quality of hooked rag, so I've been experimenting with using it in my jewelry making.  A necklace, brooch or cuff bracelet is a manageable size that can be completed in a day.  You could also make a small wall hanging as a first foray into the art form.


Folk Art Bib Necklace, collar, hooked rag, latch hooked, upcycled, evil eye protection, eyeball motif
My original design


Fiber Art Bib Necklace, collar, hooked rag rug, latch hooked, upcycled, recycled
My original design

My original design


What you will need to begin any project:
 
1) A latch hook tool.  This can be found at any craft store.
 
2) A piece of base fabric.  Traditionally this is burlap, a repurposed seed bag or coffee bag.  Burlap is inexpensive at a fabric store, but you can also use any sturdy loose-weave fabric such as linen.
 
3) The fabrics you will use  to hook your design.  These can be almost any salvaged textile that won't unravel as you work.  Traditionally, woven wool fabric was used.  I like to use t-shirts and other knits, cottons and cotton blends.  You can also incorporate other materials such as strings, yarns and plastic bags.  Different materials will give different textures.   I like to mix them up.  In the orange bib necklace pictured above, I have used t-shirts, rayon, a blue plastic bag, a printed heavy cotton pillow cover, chenille yarn and shiny silver pleather.  Cut your fabric into long 1/4" strips.  You don't need to measure or be too precise.  Just eyeball it.
 
4) A Sharpie marker for drawing your design on your base fabric.
 
5) White glue.  Elmer's type.  I use very inexpensive generic brands.  Glue is not critical, but I find it helpful to run a bead of white glue around the cut seam of the base fabric before you begin hooking.  Allow it to dry.  Then your base fabric will not fray or unravel as you are working.
 
To begin:


1) Sketch out your design and decide the colors you will use.
 

2) Draw your design on your base fabric using a Sharpie marker.   Cut out your design leaving at least a one inch border all around.  Put a thin bead of white glue around your cut edges and spread evenly with your finger.  Allow to dry completely.

 
3) With a small piece, it is sometimes helpful to use an embroidery hoop to hold your work.  This is optional.
Begin hooking.  Hold your strip of fabric on the back side of your burlap, insert your latch hook tool into the face of the design and draw loops of thread through to the front.  Keep your loops tight together but not so tightly packed that the base fabric becomes bowed and stretched.  Pull the ends of each strip of fabric through to the face and trim flush.  If you leave your ends on the back side and they get snagged or pulled they can potentially unravel large sections of hooking.
 
4) When you've finished hooking your design, you will want to finish it by turning the edges under.  A mist of water and a hot iron on the BACK of the piece will press it flat.  Neatly stitch a backing fabric to your piece.  If you've created an actual rug to be used on the floor, you can buy a liquid latex product from the craft store to paint on the back to keep it from unravelling and make it non-slip.
 
 
Come back tomorrow to see another recycle craft idea!


Sunday, March 10, 2013

Count Down To Earth Day: 43 Days

I'm bringing you one recycle craft idea each day until Earth Day.

Today's idea: 1000 Paper Cranes


An ancient Japenese legend has it that if a person folds 1000 paper origami cranes, he or she will be granted a wish.  Whether or not that is true, strings of origami cranes can liven up any room, porch or patio.  Make your paper cranes from any paper that's headed for the recycle bin, such as newspaper, magazine pages, junk mail, office paper, or book pages.
         

Below is a very good tutorial from Youtube for folding origami cranes.   


Tune in tomorrow for another recycle craft idea.